Preface: Why is LED polarity important?
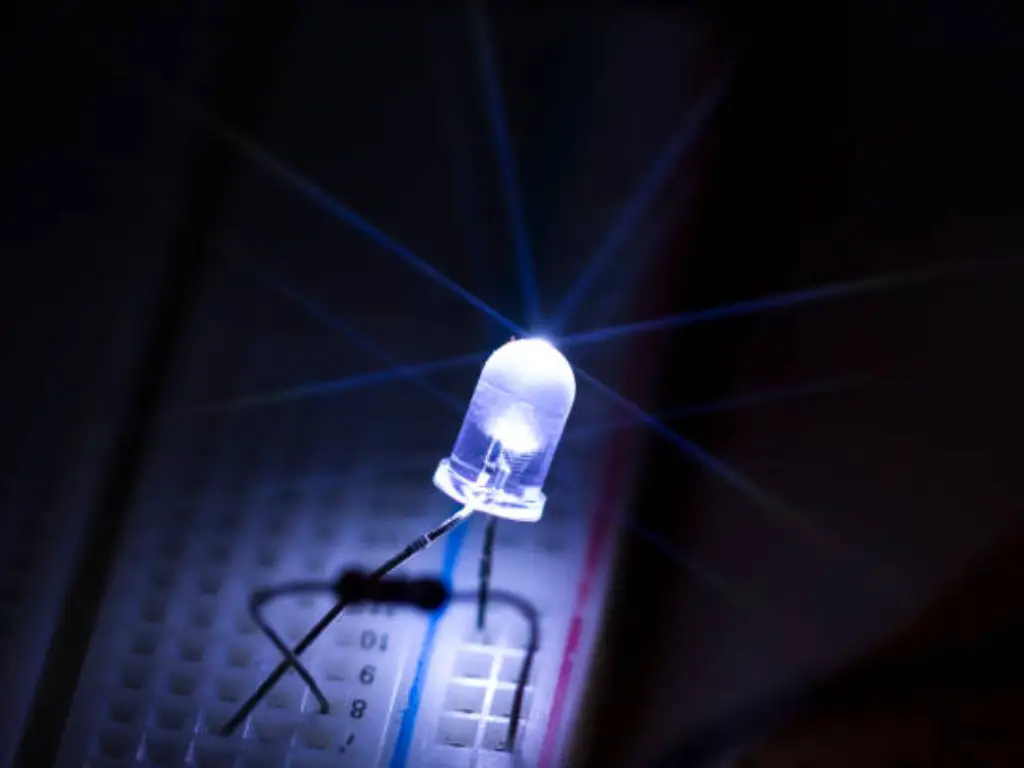
Grasping the difference between the positive and negative terminals of an LED is critical for the electronics and lighting projects. Light Emitting Diodes, or LEDs, are polarized devices which means that they can only allow current to flow in one direction. Differentiating the positive (anode) and negative (cathode) leads of an LED is necessary for the device to work and to be casing non-cosmically so as to extend the device’s life span.
The positive and negative terminals of an LED determines how it should be integrated in a circuitry. Fitting an LED in a circuit with its two leads reversed will not only stop the LED from lighting up but may also destroy the component. In more complex circuits, it can cause failures or even destroy the rest of the devices in case the LED terminals are inverted. According to a study published in the Journal of Display Technology, improper LED connections account for approximately 15% of failures in LED-based systems, highlighting the importance of correct polarity identification.
Considering the fact that LEDs are widely used in many areas, from indicator lights to sophisticated lighting systems, being able to tell the difference between the positive lead and negative lead of an LED is definitely beneficial to any hobbyist, engineer or a professional in lighting.
What Does Positive (Anode) and Negative (Cathode) Mean
When it comes to LEDs, the words positive and negative are associated with anode and cathode, respectively. Cathode meaning ‘the negative terminal’, and the anode is known as ‘the positive terminal’. This way of installing them is important because it is the way that LEDs will go into a circuit with a specific voltage and amperage.
Why LED Polarity Differs from Regular Diodes
Normal and LED diodes can both only conduct current in one direction as already established, but the main distinction is that LEDs were constructed using entirely different architecture like regular semi conductors. This means that LEDs with specific semi conductors do emit light which implies higher levels of sensitivity in comparison to reverse voltage than standard diodes.
The Importance of Correct LED Polarity
LED Polarity requires to be taken seriously. It’s expected for current to flow from the anode to cathode and light up the LED upon connection in the correct orientation with the right polarity. An LED connected in a reversed orientation would not be lit. In addition, if large reverse voltage is used on the LED it would break which would be permanent damage to an LED. It goes without saying that the correct use of the polarity of an LED is very important for the normal functioning and life span. This is particularly important in an application or project that contains LEDs because without it there would be failure.
How to Identify LED Positive and Negative
Knowing which terminal of an LED is positive and which one is negative is important when working with all types of these devices. There are many ways to figure out which side is positive and which side is negative in LED, from simply looking to particular instruments.
Visual Indicators of LED Polarity
Visual indicators are often the quickest way to identify led positive and negative leads. The first thing you should look for is the length of the leads: as a rule of thumb, the longer lead is the positive (anode) and the shorter lead is the negative (cathode). Moreover, a number of LEDs have a depression located at the bottom of the housing, which is on the cathode side of the LED. Sometimes, LED devices may use different electrodes markings; an example of this is the ‘+’ symbol for the anode or the ‘-‘ symbol for the cathode.
Using Multimeters to Identify LED Polarity
When attempting to find an LED’s polarity, a multimeter is quite useful. Set the multimeter to a diode test setting, and you can have a red probe on one lead while the black probe is on the opposite. If the LED appears to be running, the anode red probe and the black probe are connected to the cathode. Otherwise, flip over the probes and this technique is best for LEDs when they have no other indicators or are missing visual parts.
Other Tools and Techniques for Polarity Testing
Apart from a multimeter, there are a few more ways to test the polarity of the LEDs. Another very popular technique includes connecting a very ordinary 3V battery with a current-limit resistor which is between the range of 330Ω-470Ω, normally. The lead must light if the battery is touched together with the longer lead, which should be the anode side of the battery. Otherwise, the connections ought to be reversed wherever appropriate.
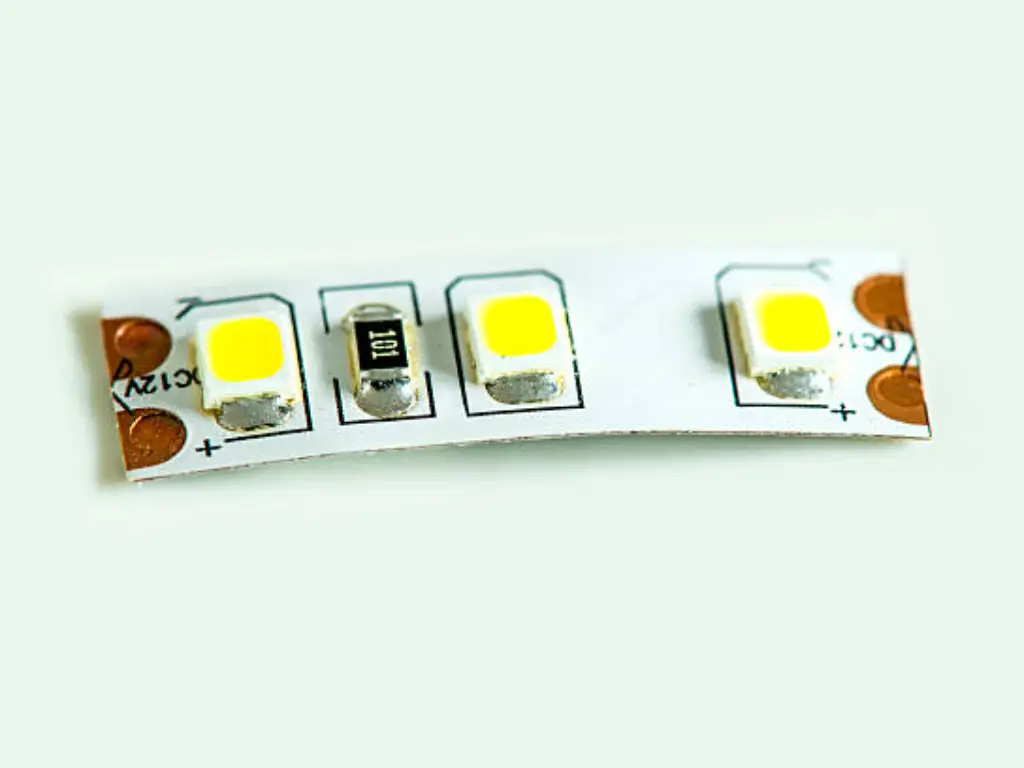
When working with surface-mount LEDs, it s important to have an LED datasheet accompanying the component. These datasheets contain polarity markings which are dot, line, notch inclusions that are supposed to be found on the prototype IC’s package. If the datasheet is not available, then you can use an LED tester made for SMD LED diodes.
You may also consider using the LED as a basic photovoltaic cell in advanced testing. Shine a light source on the LED, and using a multimeter, you can measure the small voltage that builds up. The positive lead will demonstrate a higher voltage than the negative one when light is used, helping to verify polarity. This technique is especially suited for examiners who deal with very small LEDs since basic tests may be impractical for such components.
Troubleshooting Common LED Polarity Issues
Polarity problems while using LEDs is not something new. One of the most common issues is to find an LED that does not light. This is often due to using the wrong polarity. If you have an LED that you have connected to but does not turn on, the first thing to do is check the LED positive and negative connections to see if it is necessary to swap them.
When mounting multiple LEDs in a single circumstantial capacitor, one of the more frequent conflicts happens in case of polarizing an’ LED wrongly. This tends to cause all the other series to fail to light up. Such instance drives home the importance of thoroughly checking the polarity of each LED in the circuit before applying power. It is additionally noteworthy some types of LEDs are more prone to damage from reverse voltage compared to other types. High-power LEDs can also become defective due to short revolutions in the other direction.
Thus, it is recommended to recheck the connections before powering the LEDs. For early configurations during testing, it is best to use breadboards as they are easier to reconnect. Additionally, you may want to use not just the PCB design but also add polarity protection diodes to the circuitry so that even if the lead connections are done in the reverse sense there is no damage. And it is also the case that an accurate checking of LED polarity is well in avoidance of inconvenience to the probable damage of the components particulares.
| Issue | Cause | Solution |
| LED Does Not Light Up | Incorrect polarity (reverse connection) | Swap the connections (Anode to positive, Cathode to negative). |
| Multiple LEDs Not Lighting | Reverse polarity affects all LEDs in a series circuit | Check and correct polarity of each individual LED. |
| LED Damaged (Burned Out) | Large reverse voltage applied to the LED | Use proper polarity, consider using protection diodes. |
Common LED Packages and Their Polarity Markings
While different types of LEDs might follow different design conventions, knowing the specific polarity markings of different LED packages is imperative. In this section, we will focus on three broad categories of LED packages: through hole, surface mount, and special packages and how to identify polarity of an LED.
Through-hole LEDs
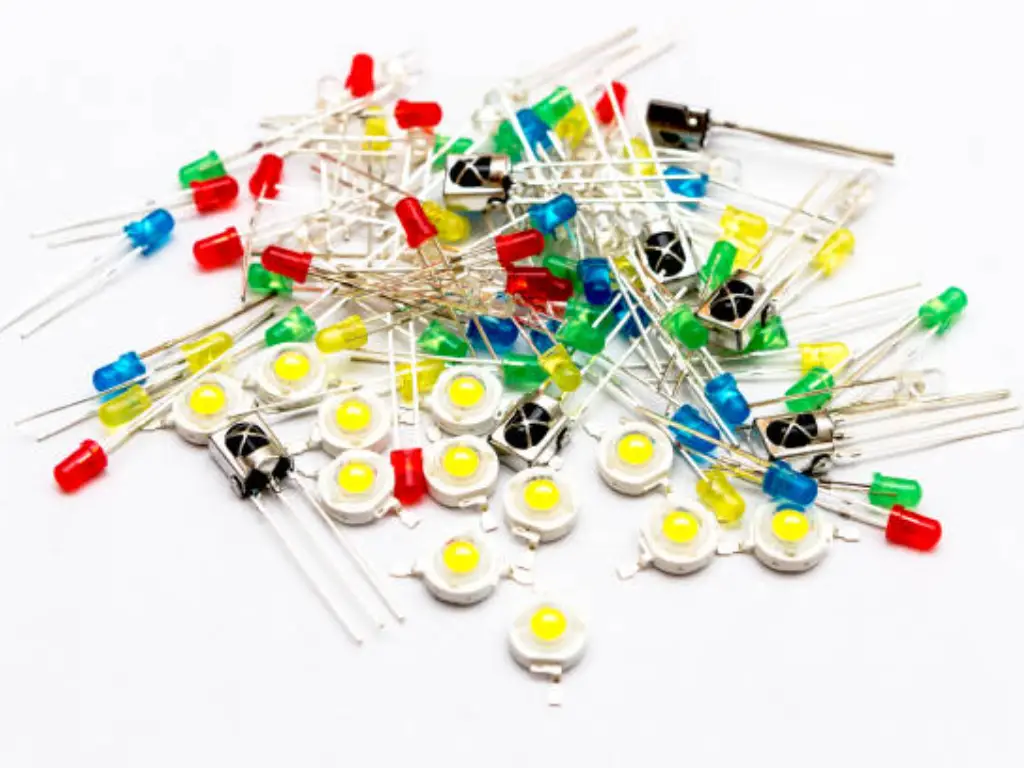
Through Hole Leds or THTs are one of the most widely used Leds by amateurs and hobbyists. They are easily differentiated as they have long leads and short legs. Here is how you identify the polarity of the leads:
Long Lead and Short Lead: It is common for many set to have the factual longer lead as the anode or positive and shorter lead to be the cathode or negative. This normally is the very first factor to look for.
Flat Edge on the Body: In this case, the edge which needs to be found is the flat edge or notch located on the LED’s plastic housing. This flat edge indicates the incorporation of the through spacers towards the high side of the cathode terminal.
Traditional sub-structure: Typically, the largest of metal plates inside the led goes to the cathode connection whereas the small plate tends to be the anode.
These markers make through-hole LEDs one of the simplest types of devices to recognize the polarity even for beginners.
Get a DIALux lighting plan within 12 hours
- Guaranteed efficacy ≥120 lm/W, CRI>80, no overstating power.
- Core components from CREE/OSRAM/PHILIPS LEDs and branded drivers
- IP66 waterproof & dustproof rating and IK08+ high impact resistance
- 30,000m² in-house, fully integrated factory
- extensive 5-7 year warranty and an industry-leading after-sales policy
Surface-mount LEDs
MD LEDs surface mounted diodes are smaller in size and are used in almost all kinds of electronic appliances due to their size and being friendly to machines. Due to their compact nature, identifying the polarity in terms of SMD soldering tips can be more difficult, but here are some bits of advice:
Polarity Marking: When looking at the SMD LED packages, one would find that there is a small dot or a line or a notch on one of the sides and this would be indicative of the cathode, which is the negative terminal.
Manufacturer Datasheets: There are the SMDs which are made differently in terms of packing allowing them to come in varying sizes and shapes so a necessity of looking up further electro-technical information on them may arise.
Testing with a Multimeter: Where markings may prove to be doubtful, a multimeter when switched to diode mode can very much establish the anode and the cathode.
Special LED packages (e.g., COB, high-power)
COB(CHIP ON BOARD) and high-power LEDs are some of the specialized packages that are increasingly common for use in an industrial, automotive and in sufficient lighting technology. One thing to note about these types of LED is that polarity can be difficult to determine and one has to use care while trying to find it:
Printed Markings: Whenever a board has + or – written on it, it indicates that there are connection pads available. Frequently, it is COB LEDs that are the ones with timbre markings.
Connector Polarity: Other times high power LEDs are available in the form of modules and heat sinks that are already fitted and joined where the connection contacts have labels fitted at extrema.
The Shape of the Pads: In high-power LED devices with bare pads, the larger pad is often the cathode, and the smaller one is the anode.
Multimeter Test: As in the case of SMD LEDs, in the absence of markings, the polarity of the SMD LED can be checked with a multimeter.
Proper installation of LED packages and their correct polarity is key to ensuring LEDs function optimally. By using multimeters to differentiate between the LED markings over the different types, whether through-hole, surface-mounted, or even COB packages, the chance of an inconvenience is significantly reduced. Since you will take these precautions, we will make sure to avoid inconveniences, and ensure that everything runs efficiently. Wosen’s supreme quality COB and SMD LEDs have excellent brightness and uniform lighting for easy integration to the existing fixtures. Our customizable products are ideal for any form of architecture and ease installation.
Final Thoughts
Mastering how to identify positive and negative terminals of LEDs is a fundamental skill for anyone working with these versatile components. Whether you’re a hobbyist tinkering with simple circuits or a professional designing complex lighting systems, understanding LED polarity is crucial for successful projects and preventing component damage.
Multimeters, LED casings, and lead markers and length inventions have assisted with discovering which LED side is negative or positive, and we have discussed troubleshooting the multi submitted problems stemming from multi point polarity marks on multiple LED packages.
The key here is to be able to assemble information disseminated during the meeting such as, observing things closely combined with manufacturing specifications. By consistently applying the knowledge of LED positive and negative identification, you can ensure your LED-based projects shine bright and function correctly. As LED technology continues to evolve, staying informed about polarity considerations will remain an essential aspect of working with these efficient light sources.With Wosen’s reliable LEDs, you can confidently identify polarity and ensure seamless integration, making your lighting projects more efficient and trouble-free.
