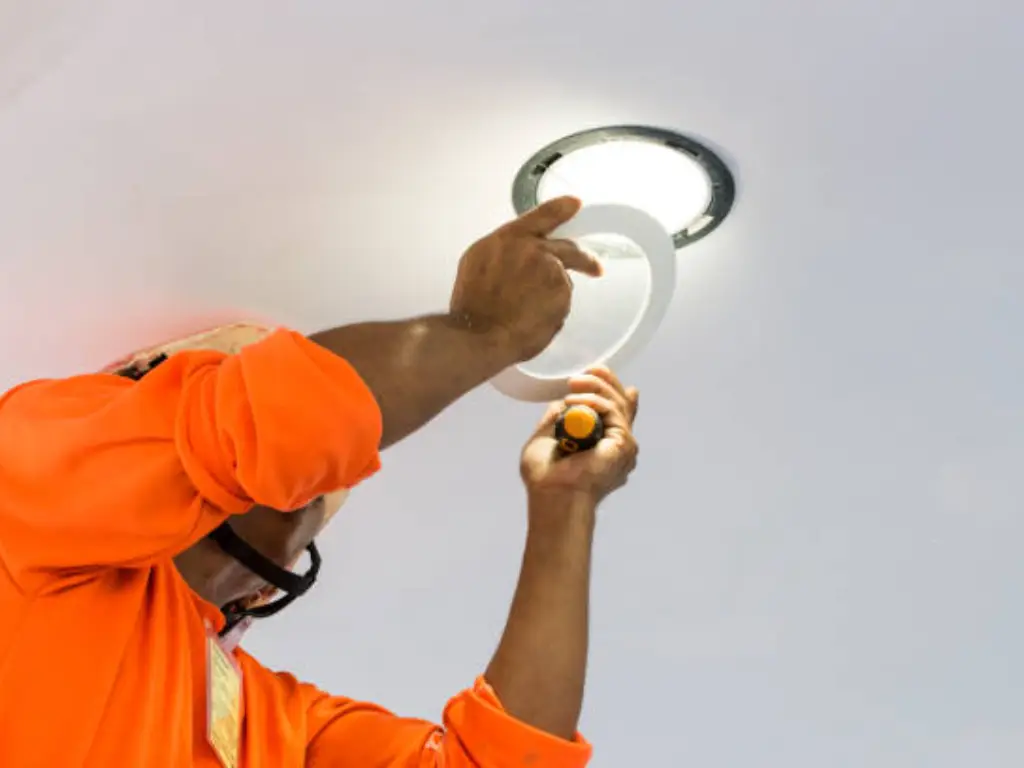
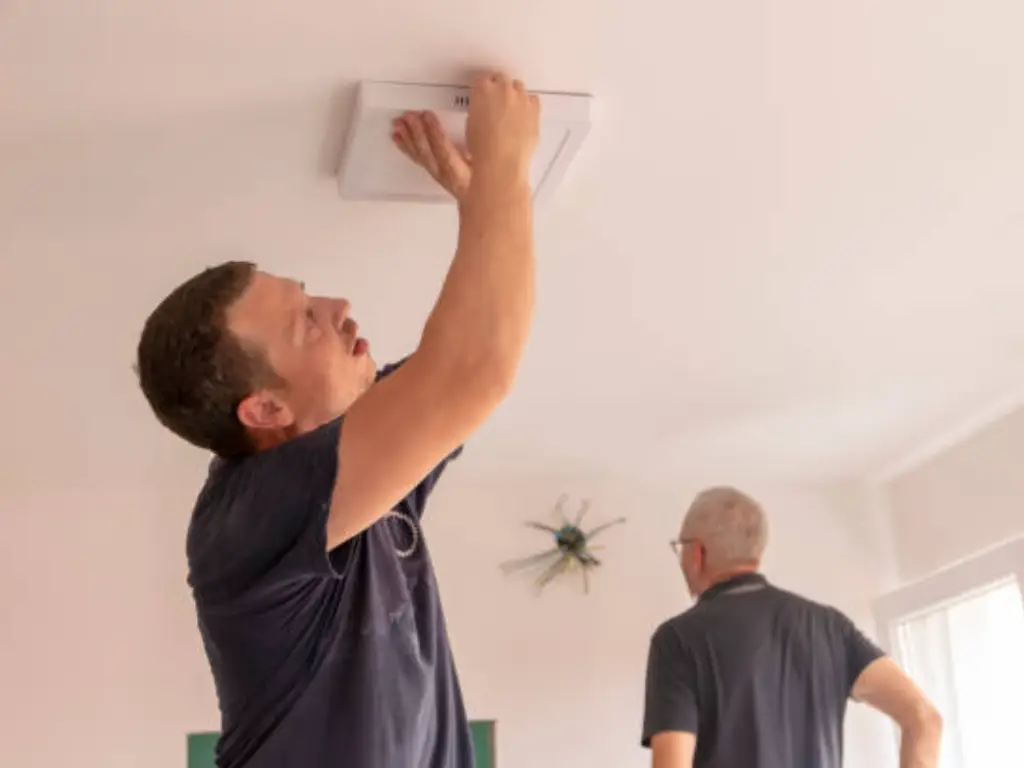
Removing such ceiling light covers can be particularly difficult if you have no idea how they are attached. The pivotal aspect of removing a ceiling cover light fixture is to first understand what type of cover it is. In this Article, we will explain how to remove ceiling lights easily and safely, step by step. No matter how complex the design of the fixture is, we will assist you as best as we can.
Understanding Different Types of Screwless Ceiling Light Covers
Some people might find the process of removing a screwless ceiling light cover quite puzzling, and if done improperly, it could result in needless damage. There are distinct classifications of screwless light covers, and each is intended for certain types of fixtures or for some specific purpose. In the following, we will explain the main types of screwless covers, how they function, and how they are different from each other.
- Magnetic Covers These covers are installed onto the fixture using strong magnets which makes them very convenient for usage. These covers are smooth and can be easily detached by pulling straight down or at an angle.
- Snap-On Covers (Clip-On) These covers are applied using small plastic or metal clips. The clips are situated inside the cover and keep it in place by snapping into the openings in the edges of the cover. They might be difficult to remove because thin and flat tools have to be used to pull the clips from the edges to prevent breaking them.
- Twist-and-Lock Covers Locks in place with a spin, allowing for quick cover attachment and detachment. Commonly used for dome or flush-mount lights, mount the cover by locking and remove by turning the cover counterclockwise while supporting the glass.
- Built-In (Embedded) Covers Fixed to the piece where structure and cover share the same body. Commonly found in offices these need to be carefully unscrewed from the part to which they are fixed. This makes them harder to cover for residential use.
- Spring-Loaded Covers Recessed and affixed by side tension springs, these covers work on the principle of spring tension. If needed, pliers could be used to aid in the unscrewing, where gentle tension is applied to spring.
- Pressure-Fit Covers Primarily found in stylish square or plane shaped models, these covers fit by side chinks or accessories. Cover removal includes gentle rotations in line with the fixture design thus easing or disengaging grooves.
Summary Table: Screwless Ceiling Light Cover Types
| Type | How It Attaches | How to Remove | Applicable Scenarios |
| Magnetic Covers | Strong magnets | Gently pull downward or at an angle. | Ceiling lights for homes, hotel conference rooms, and smart lighting setups. |
| Snap-On Covers | Hidden plastic/metal clips, featuring small clips for added security. | Use a thin, flat tool to release the clips and remove the cover. | Small ceiling lights, decorative lights, bedside task or focus lighting. |
| Twist-and-Lock | Twisted into a locking mechanism | Turn counterclockwise while supporting the cover. | Panel lights, large ceiling lights; ideal for spacious home or commercial environments. |
| Embedded Covers | Integrated with the fixture | Dismantle the entire fixture carefully for access. | Small ceiling lights in kitchens, bathrooms, and some modern office lighting. |
| Spring-Loaded | Tension springs hold it in place | Gently pull to compress the springs; pliers may assist if necessary. | Recessed downlights, spotlights; suitable for both home and commercial use. |
| Pressure-Fit Covers | Tabs or grooves create a snug fit | Apply gentle force at a specific angle to detach from the fixture. | Small fixtures, partial lighting in homes, or lighting for retail displays. |
It is grave that you identify the cover type before attempting to unlocking it since every cover differs. Each fixture, as a result of its unique design, has a designated technique of removing particular covers. Knowing the type helps in easy detachment and reduction of accidents or affixing expenses. Take a moment to check if needed before removing the fixture delicately.
Essential Tools and Safety Preparation Before Getting Started
Using the proper equipment, in addition to practicing safety measure, will ease the removal of ceiling light coverings. Accidents preventable do happen, everything can be protected, and the task can be made easier in terms of efficiency.
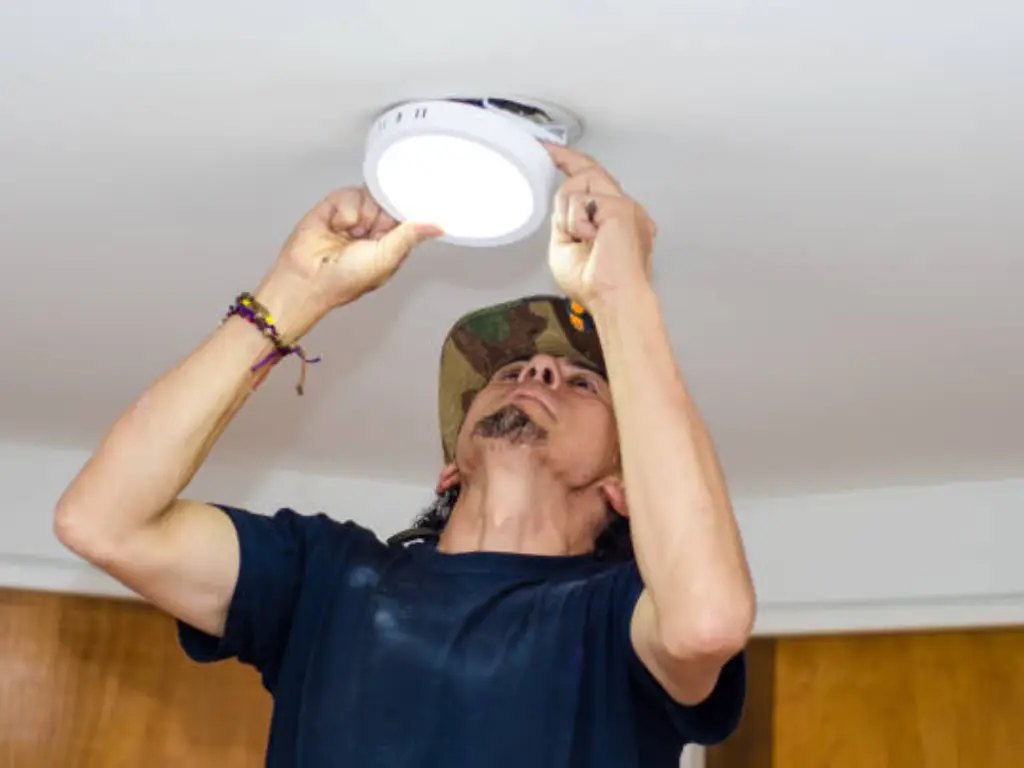
Safety Measures
- Disconnect the Power Supply: Always remove the power source at the circuit box to avoid injuries due to shocks.
- Use Protective Eyewear: Always protect your eyes against loose parts, dust, or anything that can get into your eyes while taking the cover off.
- Control the Environment Where You Are Working: A working step ladder is recommended, ensure that the area being worked on is flat. In so doing, the ladder is kept stable.
Tools You’ll Need
To address different types of screwless light covers, gather the following tools:
| Tool | Purpose |
| Step Ladder | Safely access ceiling fixtures at different heights, including any lever mechanisms involved. |
| Flashlight | Illuminate hidden mechanisms or inspect wire connections in poorly lit areas. |
| Flathead Screwdriver | Pry open snap-on covers or assist with releasing tight clips. |
| Philips Screwdriver | Loosen small screws, if any, or assist with certain twist-lock mechanisms. |
| Needle Nose Pliers | Handle small components like springs, clips, or pressure-fitted tabs with precision. |
In order to deal with multiple styles of light covers and boost safety skills, adequate planning is vital. Identify what tools are appropriate for the fixture you are using and make sure the area to be worked on is secured. This can greatly improve work efficiency.
How to Remove Different Types of Chandelier Covers
Most ceiling chandeliers serve a practical purpose while enhancing the interiors of a house, but the suspended covers can be more challenging to remove because they tend to be very thin and fragile. Here’s a detailed guide on how to safely remove different types of screwless covers:
- Magnetic Covers As the name illustrates, these covers make use of internal magnets to stay in place. To remove them, simply grasp the edge of the cover and pull it downwards while gently pushing it to the side. Use delicate yet firm pressure to avoid breaking the fixture or cover.
- Snap-On (Clip-On) Covers These covers are secured with hidden clips. To remove, use a plastic tool or flathead screwdriver to gingerly swirl around the edge in addition to holding the cover in place with your free hand. Be careful not to damage the clip while doing so.
- Twist-and-Lock Covers Covers of this category are often found on dome shaped chandeliers and are fastened firmly into place by twisting. Using both hands firmly grasp the cover and rotate it counterclockwise. This action unlocks the cover. You must support the cover while removing it so it does not break during the process.
- Embedded Covers Embedded Covers These types of covers remain embedded within the chandeliers’ fixture. Often you will have to detach the entire light assembly. You must consult the user manual for proper orientation. Proceed carefully further in the process towards the cover as fragments can break off easily.
- Spring-Loaded Covers Covers of this type make use of tension springs to keep them firmly in place. Pull on the cover gently until the springs are fully compressed. If needed, adjust or release the springs with the aid of a plier.
- Pressure Covers These covers use tight grooves or tabs for their securing. The best way to get rid of them is to push or pull against them while applying pressure which will force them to pop free.
Expert’s Guide:
Before the ceiling light is touched, it is critical to examine it deeply. Once you know what type of cover it is, then it will be easy to determine what proper technique to apply so that the fixture will not be damaged or any other components around it.
Handling Obstacles: How to Loosen Stuck or Jammed Light Covers
If your ceiling light cover is stuck or won’t budge, it’s important to assess why it’s jammed rather than resorting to brute force. Here’s how to work through the issue:
Common Causes of Stuck Covers:
- Dust and Paint: Over time, paint or grime can “seal” the cover in place. Use a utility knife to carefully cut along the edges and break the seal.
- Warping or Old Fixtures: Aging fixtures can cause plastic ceiling light covers or grooves to warp, making removal difficult.
Solutions to Try:
- Use Lubrication: Apply a small amount of lubricant (e.g., WD-40) around the metal base or notch areas. Wipe off excess before trying removal again.
- Tap Lightly: Use the handle of a screwdriver or a rubber mallet to tap gently along the edges. This can dislodge stuck parts.
- Revisit the Mechanism: Sometimes, the issue comes from a misunderstood locking mechanism. Use a flashlight to carefully inspect for any overlooked components like hidden screws.
Handling obstacles patiently ensures you don’t damage your fixture or the ceiling light cover during the process.
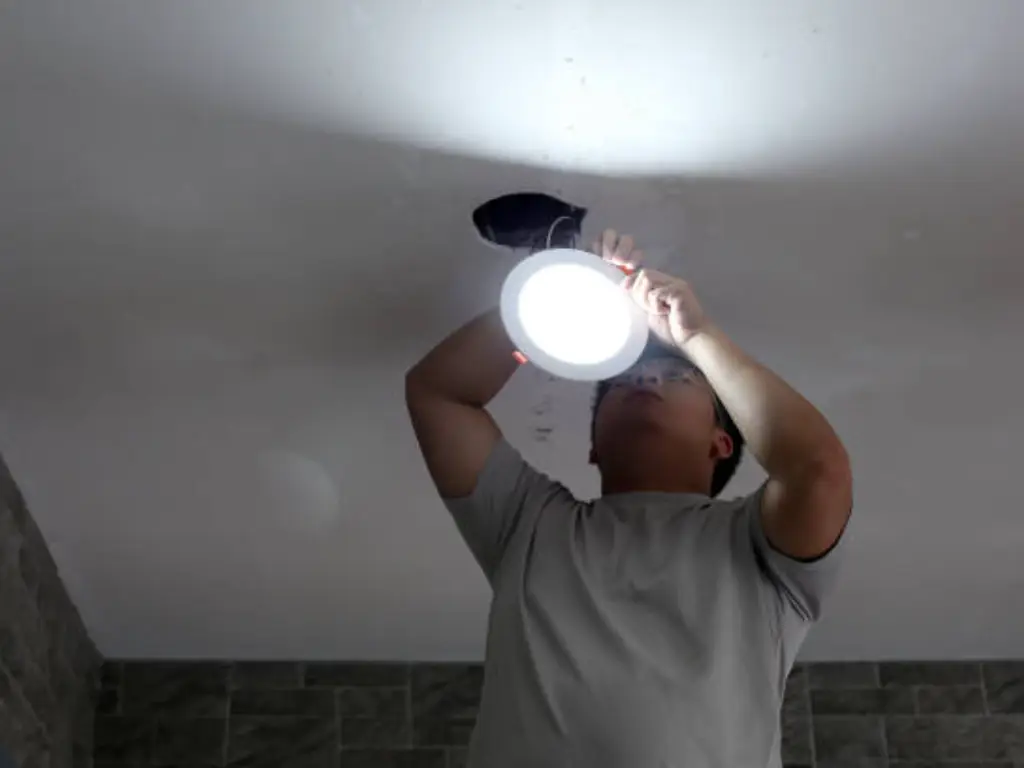
Advantages of Ceiling Light Cover No Screws
Ceiling light covers designed without screws are gaining popularity for good reason—they blend practicality with style to meet the needs of modern homeowners and professionals alike.
- Seamless and Modern Design Screwless covers offer a clean, streamlined appearance with no visible screws to disrupt the aesthetics. This minimalist approach perfectly complements contemporary interiors, making them a favorite choice in modern lighting designs.
- Ease of Installation These covers are designed for simplicity, using mechanisms like magnetic fittings, twist-and-lock systems, or spring clips. This makes installation and maintenance much more accessible, even for users without experience. Whether replacing a bulb or cleaning the fixture, the process is quick and hassle-free.
- Convenience and Efficiency Unlike traditional screw-mounted fixtures, screwless designs reduce the time and effort required for maintenance. For routine cleaning or bulb replacements, users no longer need tools or prolonged adjustments, saving both time and frustration.
From an LED expert’s perspective, screwless covers align perfectly with the benefits of LED lighting. LED fixtures already emphasize efficiency, long lifespan, and low maintenance. Combining LEDs with screwless covers enhances their user-friendliness, as fewer disruptions are needed during the product’s long service life. When paired together, these innovations address common concerns like aesthetics, convenience, and durability, resulting in lighting solutions that are both functional and visually pleasing.
What to Do If Your Ceiling Light Cover Is Damaged
If your ceiling light cover is cracked, chipped, or otherwise damaged during removal, don’t panic. Here’s what to do:
- Immediate Cleanup: For broken glass, carefully gather the shards with gloves and place them in a sturdy container. Use a vacuum to collect smaller fragments. Keep the work area safe.
- Ceiling Light Cover Replacement: Look for a replacement cover compatible with your ceiling light fixture. Take note of the size, material, and mechanism (e.g., spring-loaded, pressure-fitted) before purchasing.
- Consult an Electrician: If you’re unsure about continuing, a licensed electrician can provide guidance or help with installing a new fixture. This is particularly a good idea for older or complex junction box configurations.
Replacing a damaged cover ensures your fixture remains both functional and aesthetically pleasing, extending the life of your ceiling light.
FAQs About Removing Screwless Ceiling Light Covers
Q: How do I remove a ceiling fan light cover with no screws?
A: Ceiling fan light covers often involve twist-and-lock or spring mechanisms. Rotate the glass dome gently or use a tool like a flathead screwdriver to dislodge spring clips.
Q: How do I remove square ceiling light covers with no screws?
A: For square designs, inspect for pressure-fitted tabs or grooves. Apply gentle pressure to detach the cover without breaking it.
Q: Can I find videos to help me?
A: Absolutely. Search terms like “how to remove ceiling light cover with no screws YouTube” or “how to remove ceiling fan light cover no screws – YouTube” offer helpful visual demonstrations.
Q: Is it safe to try this myself?
A: Yes, but always prioritize safety by turning off power at the circuit breaker and using protective gear such as safety glasses.
Proper care and a few well-thought-out steps will help you successfully handle the task of removing any ceiling light cover without screws, ensuring both safety and efficiency.
Conclusion
Removing a screwless ceiling light cover may seem tricky at first, but with the right approach, it can be done safely and efficiently. However, frequent maintenance or replacements often stem from products with design or durability limitations. At WOSEN, we understand these challenges and aim to address them with our LED lighting solutions. We don’t just manufacture lighting products—we deliver lighting solutions tailored to meet the needs of distributors and their customers. Our products are designed with user-friendly features and longer lifespans, reducing the need for frequent maintenance and after-sales concerns. When you choose WOSEN, you’re choosing products that your customers can trust.
